Tips On Diy Plumbing Projects At Home
Working on plumbing projects at home can be an intimidating prospect, but with the right tips and advice it doesn’t have to be. DIY plumbing is a great way to save time, money and get satisfaction from tackling your own problems. With this guide you’ll learn how to tackle some of the more common home plumbing jobs without needing a professional.
Plumbing issues are among the most frustrating aspects of homeownership. Leaky pipes, clogged drains, running toilets – all these things can quickly add up in terms of both cost and inconvenience. But thankfully there’s no need to call out a plumber for every little issue; getting stuck into do-it-yourself projects can help you keep costs down while giving you the pride that comes from fixing something yourself.
This article will provide top tips for doing basic plumbing work around your house such as unclogging sinks or replacing fixtures like faucets and shower heads. We’ll take you step by step through each project so that even if you don’t consider yourself handy with tools, you’ll still be able to complete them successfully! So read on to find out how easy it is to handle some everyday household plumbing tasks.
## 1. Gather The Right Tools And Materials
Having the right tools and materials is essential for any DIY plumbing project. This includes items such as a wrench, pipe cutter, and plumber’s tape. It is also important to have access to supplies like PVC pipes and fittings. A good rule of thumb is to always purchase more than you think you need, just in case something goes wrong or something gets damaged during installation.
You should also take time to research local building codes so that your plumbing project meets all applicable standards. Building codes help protect occupants from potential hazards associated with improper installations. If there are any questions about regulations, then it may be best to contact a professional plumber who can advise on what needs to be done in order to make sure everything complies with local laws and safety requirements.
Before starting the actual work, it’s smart to create a plan detailing which steps must be taken in order to accomplish the job correctly. Taking this extra step ensures that no details will be overlooked while working on the project at hand. After having acquired all of the necessary tools and materials, created a plan of action, and familiarized yourself with local building codes, you’re ready to begin your DIY plumbing project!
## 2. Understand Basic Pipe Fittings
Tools are the key to a successful plumbing project. But understanding basic pipe fittings is also important. Knowing which type of fitting should be used in each situation can help you avoid missteps and get the job done right.
Different types of fittings serve different purposes, such as connecting pipes at corners or adapting short pieces into longer ones. It’s also useful to know what kind of material your pipes are made from – copper, PVC, or PEX – so that you can make sure to purchase compatible fittings.
Your local hardware store will have everything you need for most home projects. The staff can provide advice on selecting the right parts and tools, if needed. Using quality materials and taking time to do research before starting any project can save you money and stress in the long run.
To ensure success with your DIY plumbing project, knowing how fittings work along with having the proper equipment is essential.
## 3. Follow Local Plumbing Regulations
Before you embark on your plumbing project, it’s important to make sure that you understand the local regulations. Plumbing codes can vary based on location and jurisdiction, so it’s essential for homeowners to familiarize themselves with these rules before they begin a DIY job.
The most common regulation is related to safety and sanitation—many states require licensed plumbers or contractors to do large-scale plumbing jobs in order to ensure compliance. In addition, there are restrictions around certain materials used for pipes, fittings, and other parts of the system; using products not approved by code could result in costly repairs down the road.
It’s also important to remember that many cities have permits required for specific types of projects. Depending on where you live, this may include anything from changing out fixtures and appliances to full-fledged pipe replacement jobs. Check with your local government office to find out what kinds of permits need to be pulled before beginning any kind of home improvement work involving plumbing.
No matter what type of DIY project you’re planning, it pays off to know the regulations ahead of time. Doing some research will save yourself time and money in the long run – as well as keep your family safe!
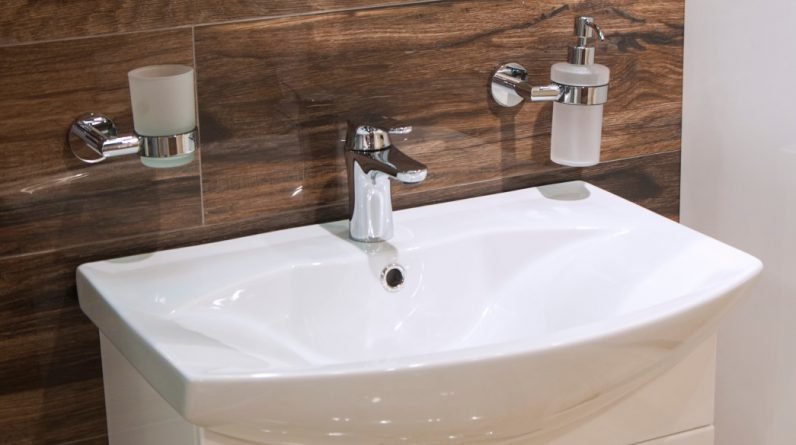
## 4. Install A New Faucet
A new faucet is a great way to modernize your home. Many DIYers can handle this project with relative ease, as long as they have the right tools and materials. Start by turning off the water supply to the sink you’ll be working on. This will limit any potential flooding from happening during installation. Then, remove the old faucet from its mounting area. Make sure all parts of it are removed so that you can install the new one properly.
Now for the actual process of installing your new faucet. First, attach the gasket seal tightly onto the base of your new fixture using plumber’s putty or silicone caulk. Then, place it into position and secure it in place with nuts and washers provided by the manufacturer. Connect all plumbing lines according to instructions found in your product manual – this part is key! Finally, turn on the water supply once everything is connected correctly and test out all functions of your new faucet to make sure there aren’t any leaks or other issues present.
It’s important to remember that proper maintenance should always come after any sort of installation job like this one – even if it seems small scale. Check periodically throughout each year for signs of wear and tear, such as loose connections or dripping pipes, which could lead to bigger problems down the line if left unaddressed. Taking these simple steps now will ensure many years of trouble-free use later on!
## 5. Unclog A Sink Or Toilet
Unclogging a sink or toilet is a common plumbing task that many homeowners can easily do themselves. Before getting started, it’s essential to have the right tools for the job on hand. A plunger and drain snake are two of the most commonly used items when unclogging sinks and toilets.
To use a plunger, make sure there is enough water in the clogged area so that it covers at least half of the plunger cup. Place the plunger over the drain opening with an up-and-down motion until you feel resistance; this should create pressure that helps break through any blockage. Once finished, flush out the system with hot water to clear away any remaining debris.
If using a drain snake, feed it into the pipe until you feel resistance from something blocking its path. Twist and push against whatever obstacle you find until it comes loose then pull out anything stuck in your pipes before flushing them out with hot water again. Make sure to remove any hair or soap scum caught in between coils as well.
By following these steps properly, unclogging a sink or toilet should be relatively straightforward and easy for DIYers looking to take care of their own plumbing problems without calling in professionals.
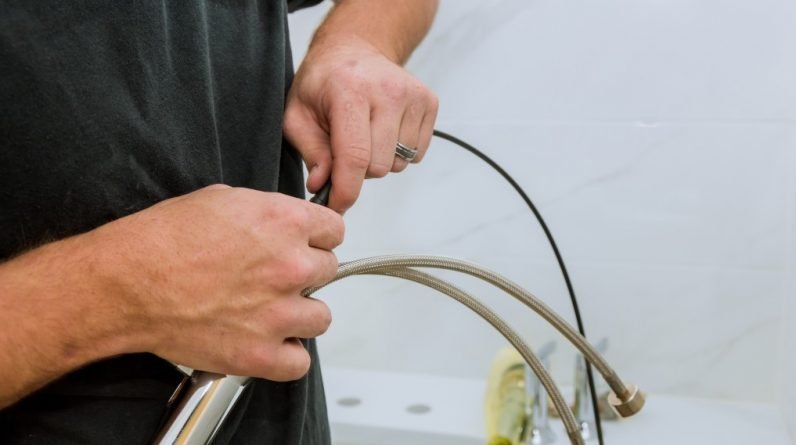
## 6. Repair A Leaky Pipe
Leaky pipes can be a real nuisance. They often mean an increased water bill and, if not attended to promptly, they could cause expensive damage beyond repair. But luckily, with the right tools and instructions, you can fix the problem yourself in no time.
First things first: before attempting any kind of DIY plumbing project, make sure that you have all the necessary supplies like pipe wrenches, screwdrivers and tape. Once your materials are ready to go, locate where exactly the leak is coming from so that you know what part needs replacing or repairing. If it’s just a small crack or hole near one of the joints on the pipe then it should be relatively easy to patch up; otherwise you may need to purchase a new piece of piping altogether.
Once everything has been prepped accordingly, start by disconnecting both ends of the leaking section and removing them completely. Then take some sandpaper and clean away any rust or corrosion build-up around the affected area – this will ensure that there’s good contact between surfaces when putting it back together again later on. Next grab your tape or sealant (depending on which material your pipes are made out of) and apply it generously over every joint connection point before reassembling everything as normal again – making sure that each nut/bolt is fastened securely in place once finished!
If done correctly, this simple process should help prevent further issues down the line for years to come. So don’t wait until bigger problems arise; get started today on fixing those pesky leaks!
## 7. Replace A Toilet Flapper
Replacing a toilet flapper is an important part of DIY plumbing projects. It’s not difficult, but it requires some time and patience to ensure the project is done correctly.
First, you’ll need to gather up all of the necessary supplies: pliers, a new flapper, and rubber gloves for protection from any potential contaminants in the tank or water supply. Next, shut off the water supply to your toilet so that there won’t be any unexpected leaks during the replacement process.
Once that’s complete, use the pliers to remove the old flapper by disconnecting its chain from the overflow valve. Then take out any debris that might have built up around where it was attached before installing the new one. Make sure to attach it securely; if not tight enough it could leak when flushed. Lastly, turn on your water supply again and test flush your toilet to make sure everything is working properly.
All in all replacing a toilet flapper isn’t too complicated as long as you prepare ahead of time and follow these steps carefully – this will help prevent further damage down the line!
## 8. Install A New Toilet
Install a new toilet: it’s not as difficult as you might think. A few basic tools and some DIY know-how are all that is needed to replace an old or broken toilet. First, turn off the water supply valve located behind the toilet. Then remove the old toilet by loosening and removing the bolts connecting it to the floor. Next, use a wax seal ring on the bottom of the new toilet to create a waterproof connection between the waste pipe and your new fixture. Finally, position your new toilet in place and secure with bolts before turning on the water supply valve again.
This project will take time but can be completed within one day if done correctly. Make sure to double check connections for leaks after installation is complete – this step should not be overlooked! When disposing of an old toilet, remember to properly recycle any parts that may still be usable such as porcelain pieces, metal components, or even plastic ones. Doing so will help reduce environmental impact while also saving you money down the road when replacements become necessary again.
With patience and attention to detail, fixing up your bathroom with a shiny new fixture can be rewarding and satisfying experience – no need for professional assistance here! Take pride in having accomplished something yourself – now go show off your handy work!
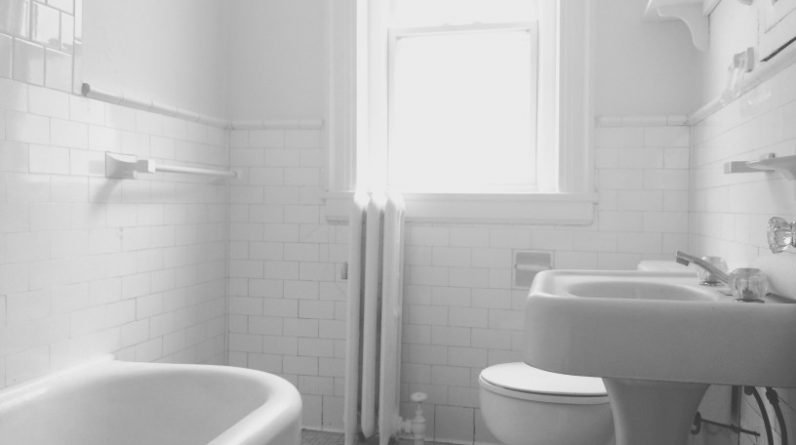
## 9. Install A Shower Or Tub
Installing a shower or tub can seem like an intimidating DIY plumbing project. But, with the right tools and knowledge, it is possible to complete this project in your own home.
Before beginning any kind of installation process, make sure you gather all the necessary materials first. This includes items such as shower trays/pans, drain kits, pipes and fittings, taps and valves, silicone sealant and adhesive tape. Also be sure to read manufacturer-specific instructions for installing different types of showers and tubs.
When starting the actual installation process – take your time! Make sure that everything is lined up correctly before drilling holes into tiles or walls, paying special attention when cutting out around drainage outlets too. In addition, always use waterproof sealants on joints between wall surfaces and wet areas – these will help to prevent moisture from seeping through in future years.
Finally, once you have finished installing your new bathtub or shower unit – test it out by running water through all the fixtures. Doing so will give you peace of mind that no leaks are present and that your hard work has paid off!
## 10. Troubleshoot Common Plumbing Problems
Troubleshooting common plumbing problems is an important part of DIY plumbing projects at home. It’s often the case that what appears to be a complicated issue can actually be resolved with relatively straightforward solutions. But it’s essential to have some knowledge about how your plumbing system works so you know when and where to look for possible issues.
To identify a potential problem, start by checking any fixtures or valves in the affected area. Look out for signs such as clogs, blockages, leaks, or strange noises coming from pipes. If you find something suspicious then take the time to investigate further. Use tools like pliers and wrenches to open up fittings and check connections; use leak detectors if necessary.
Once you’ve identified an issue, there are several simple things you can do yourself before calling on professional help: replace worn-out seals; tighten loose connections; apply sealant around joints; clean off mineral deposits using vinegar or baking soda solution; clear away minor blockages using plungers or drain snakes. With this kind of troubleshooting knowledge under your belt, you’ll be able to tackle many small plumbing jobs without having to call in expensive outside help – saving you money!
With careful observation and appropriate testing equipment, anyone can handle most basic repair work themselves – resulting in long-term cost savings and greater peace of mind whenever unexpected problems arise.
Frequently Asked Questions
## What Type Of Pipes Should I Use For A Diy Plumbing Project?
DIY plumbing projects can be intimidating, but the first step is choosing the right pipes. Pipes come in different materials and sizes, so it’s important to select ones that are suitable for your project.
Metal pipes such as copper or galvanized steel are often used for plumbing because they’re durable and resistant to corrosion. Copper is a popular choice for water supply lines since it doesn’t degrade over time like other metals do. However, copper piping may require soldering, which requires skill and precision. Galvanized steel is an affordable alternative but can corrode more quickly than copper if exposed to acidic substances.
Plastic pipes such as PVC and CPVC are also commonly used in DIY plumbing projects due to their low cost and ease of installation. These types of plastic pipes don’t rust or corrode like metal pipes do, making them good options for drain lines (though not necessarily potable water systems). Additionally, most local building codes allow these types of pipe material.
Choosing the right type of pipe is essential when embarking on any DIY plumbing project at home – whether you opt for metal or plastic depends on what you need it for as well as budget constraints. Make sure to research each option thoroughly before settling on one particular material!
## How Can I Find Out The Local Plumbing Regulations?
Before starting a DIY plumbing project, it’s essential to understand the regulations in your local area. Different areas may have different rules and codes that must be followed when working with pipes or other components of a plumbing system. Knowing the regulations can help you plan out an effective and safe project.
The best way to find out what is required for your area is to contact your local building department or inspectorate. They will be able to tell you about any specific requirements for plumbing projects, such as which materials are approved for use and how certain tasks should be performed. In some cases, they may even provide guidance on completing more complex jobs like installing a new water heater or replacing old fixtures.
It’s important to take the time to research local regulations before beginning a DIY plumbing project. This can ensure that everything is done safely and legally so that there won’t be any complications down the road. It also gives you an opportunity to ask questions if something seems unclear, giving you peace of mind while tackling the task at hand.
Doing due diligence upfront can save lots of headaches later on; taking the time now could mean fewer problems later and successful completion of your DIY plumbing project!
## How Do I Know What Type Of Faucet To Buy?
Choosing the right faucet is an important part of any DIY plumbing project. The wrong choice can lead to costly mistakes or even water damage in your home. Understanding what type of faucet you need and how it should be installed is key for successful installation.
When selecting a new faucet, there are several factors that must be considered: material, finish, style, features and budget. Different materials such as stainless steel, brass or plastic will each have their own advantages and disadvantages – all depending on your needs and preferences. Additionally, consider the shape and size of the sink before choosing a suitable faucet. Many sinks have pre-drilled holes which determine the kind of faucets available to you; however these may not always meet with your individual requirements.
Finding out local regulations regarding plumbing projects is also essential when considering a DIY project at home. Local codes vary from place to place so it’s best to check with your local municipality before starting work – this way you’ll avoid potential fines or problems further down the line when selling/renting out your property! In addition, make sure you have obtained all necessary permits required by law – this could save time and money if something were to go wrong during installation or repair.
With careful planning and research into both product selection and local laws, DIY plumbing projects can be completed safely and successfully in no time at all – giving you peace of mind that everything has been done according to safety standards set out by industry professionals!
## How Can I Prevent Plumbing Problems In The Future?
Plumbing at home can be a tricky task. Knowing how to prevent plumbing problems in the future is key to keeping your house running smoothly. First, check all pipes and fixtures regularly for signs of damage or wear and tear. This includes checking for rust, leaks, clogs, mold, or other issues that might cause problems down the line. If you spot any issues early on, it’s much easier to fix them before they become major headaches.
Second, make sure you’re using the correct parts when doing repairs or replacements. Different types of fittings and connectors require different pieces so it’s important to pay attention when shopping for parts. Also keep an eye on what type of faucet you buy – some are designed specifically for certain pipe sizes and connections.
Finally, invest in quality materials when possible. Cheaper materials may seem like a good option initially but if they don’t last as long then you’ll end up with bigger bills further down the road from having to replace them too often. Quality parts will help ensure that your DIY project holds up over time without requiring too many costly repairs later on. Taking these steps should help to reduce the chances of plumbing problems occurring in your home in the future.
## What Are The Most Common Plumbing Issues In A Home?
Plumbing issues can be a real hassle for homeowners. Common problems range from clogged drains to leaking pipes and beyond. Knowing what the most common plumbing issues are in your home is important, so you can take steps to prevent them or address them quickly if they do occur.
Leaking pipes are perhaps one of the most common plumbing issues found in any home. If not addressed promptly, these leaks can cause significant damage over time due to water damage and mold growth. Additionally, it’s important that all fixtures connected to the pipe system are inspected regularly as they too may have hidden signs of wear and tear which could lead to costly repairs down the road.
Clogged drains often follow behind leaky pipes as one of the more frequent plumbing woes faced by homeowners. This issue usually arises when large objects such as food scraps get stuck inside the drainpipe – leading to blockages that need to be cleared out with professional help or specialized tools. It’s also advised to avoid pouring grease down sinks as this will eventually harden up once cooled, causing further obstructions within the piping system.
Regular maintenance should be undertaken to ensure your pipes remain clear and in good condition; inspect underneath sinks for any sign of moisture and use strainers on shower or kitchen drains where applicable, plus check for any unusual noises coming from your plumbing system at least twice a year. Taking precautionary measures like these now could save you huge amounts of money in repair costs later on – something worth considering!
## Conclusion
DIY plumbing projects can seem daunting, but with the right tools, knowledge and safety precautions in place, it doesn’t have to be. Knowing what type of pipes to use for your project, understanding local regulations and purchasing the correct faucets are essential steps to take. Additionally, taking preventive measures such as regularly checking for common problems like leaky taps or clogged drains is a great way to extend the life of your home’s plumbing system and avoid costly repairs down the line. With these tips in mind, you’ll feel more confident tackling DIY plumbing tasks around the house.